My Podcasting and Streaming Setup
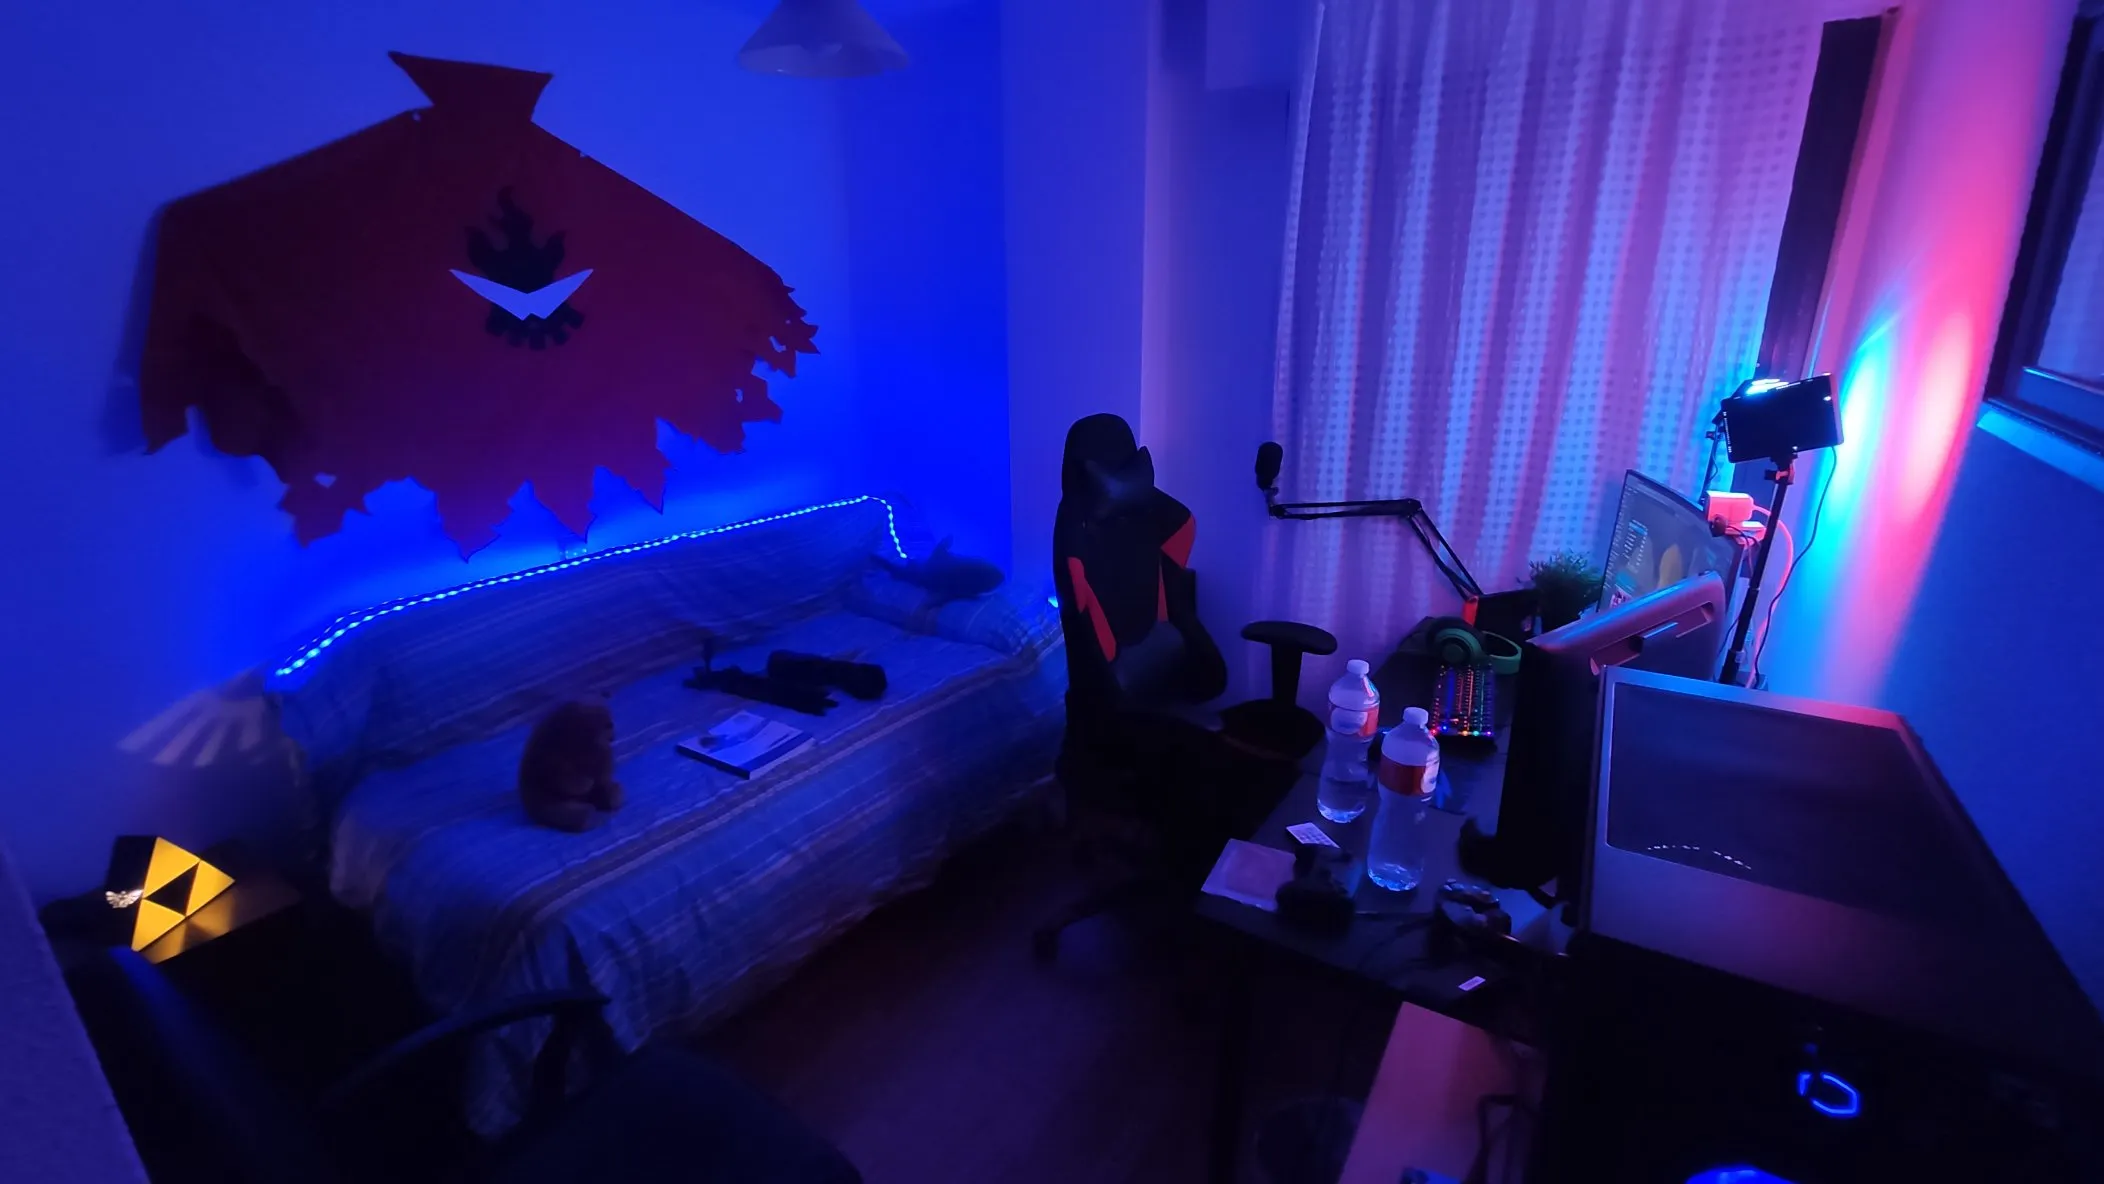
It’s been 5 months since I started recording the El Último Frame podcast with almost weekly frequency, and after this time I think I’ve achieved a pretty decent recording setup. There are elements that could be improved, such as the microphone, since although it has acceptable quality, there are much better ones that capture less noise. However, for my current situation it is more than enough to provide good quality.
Without further ado, let’s go to each section of the configuration.
Sound
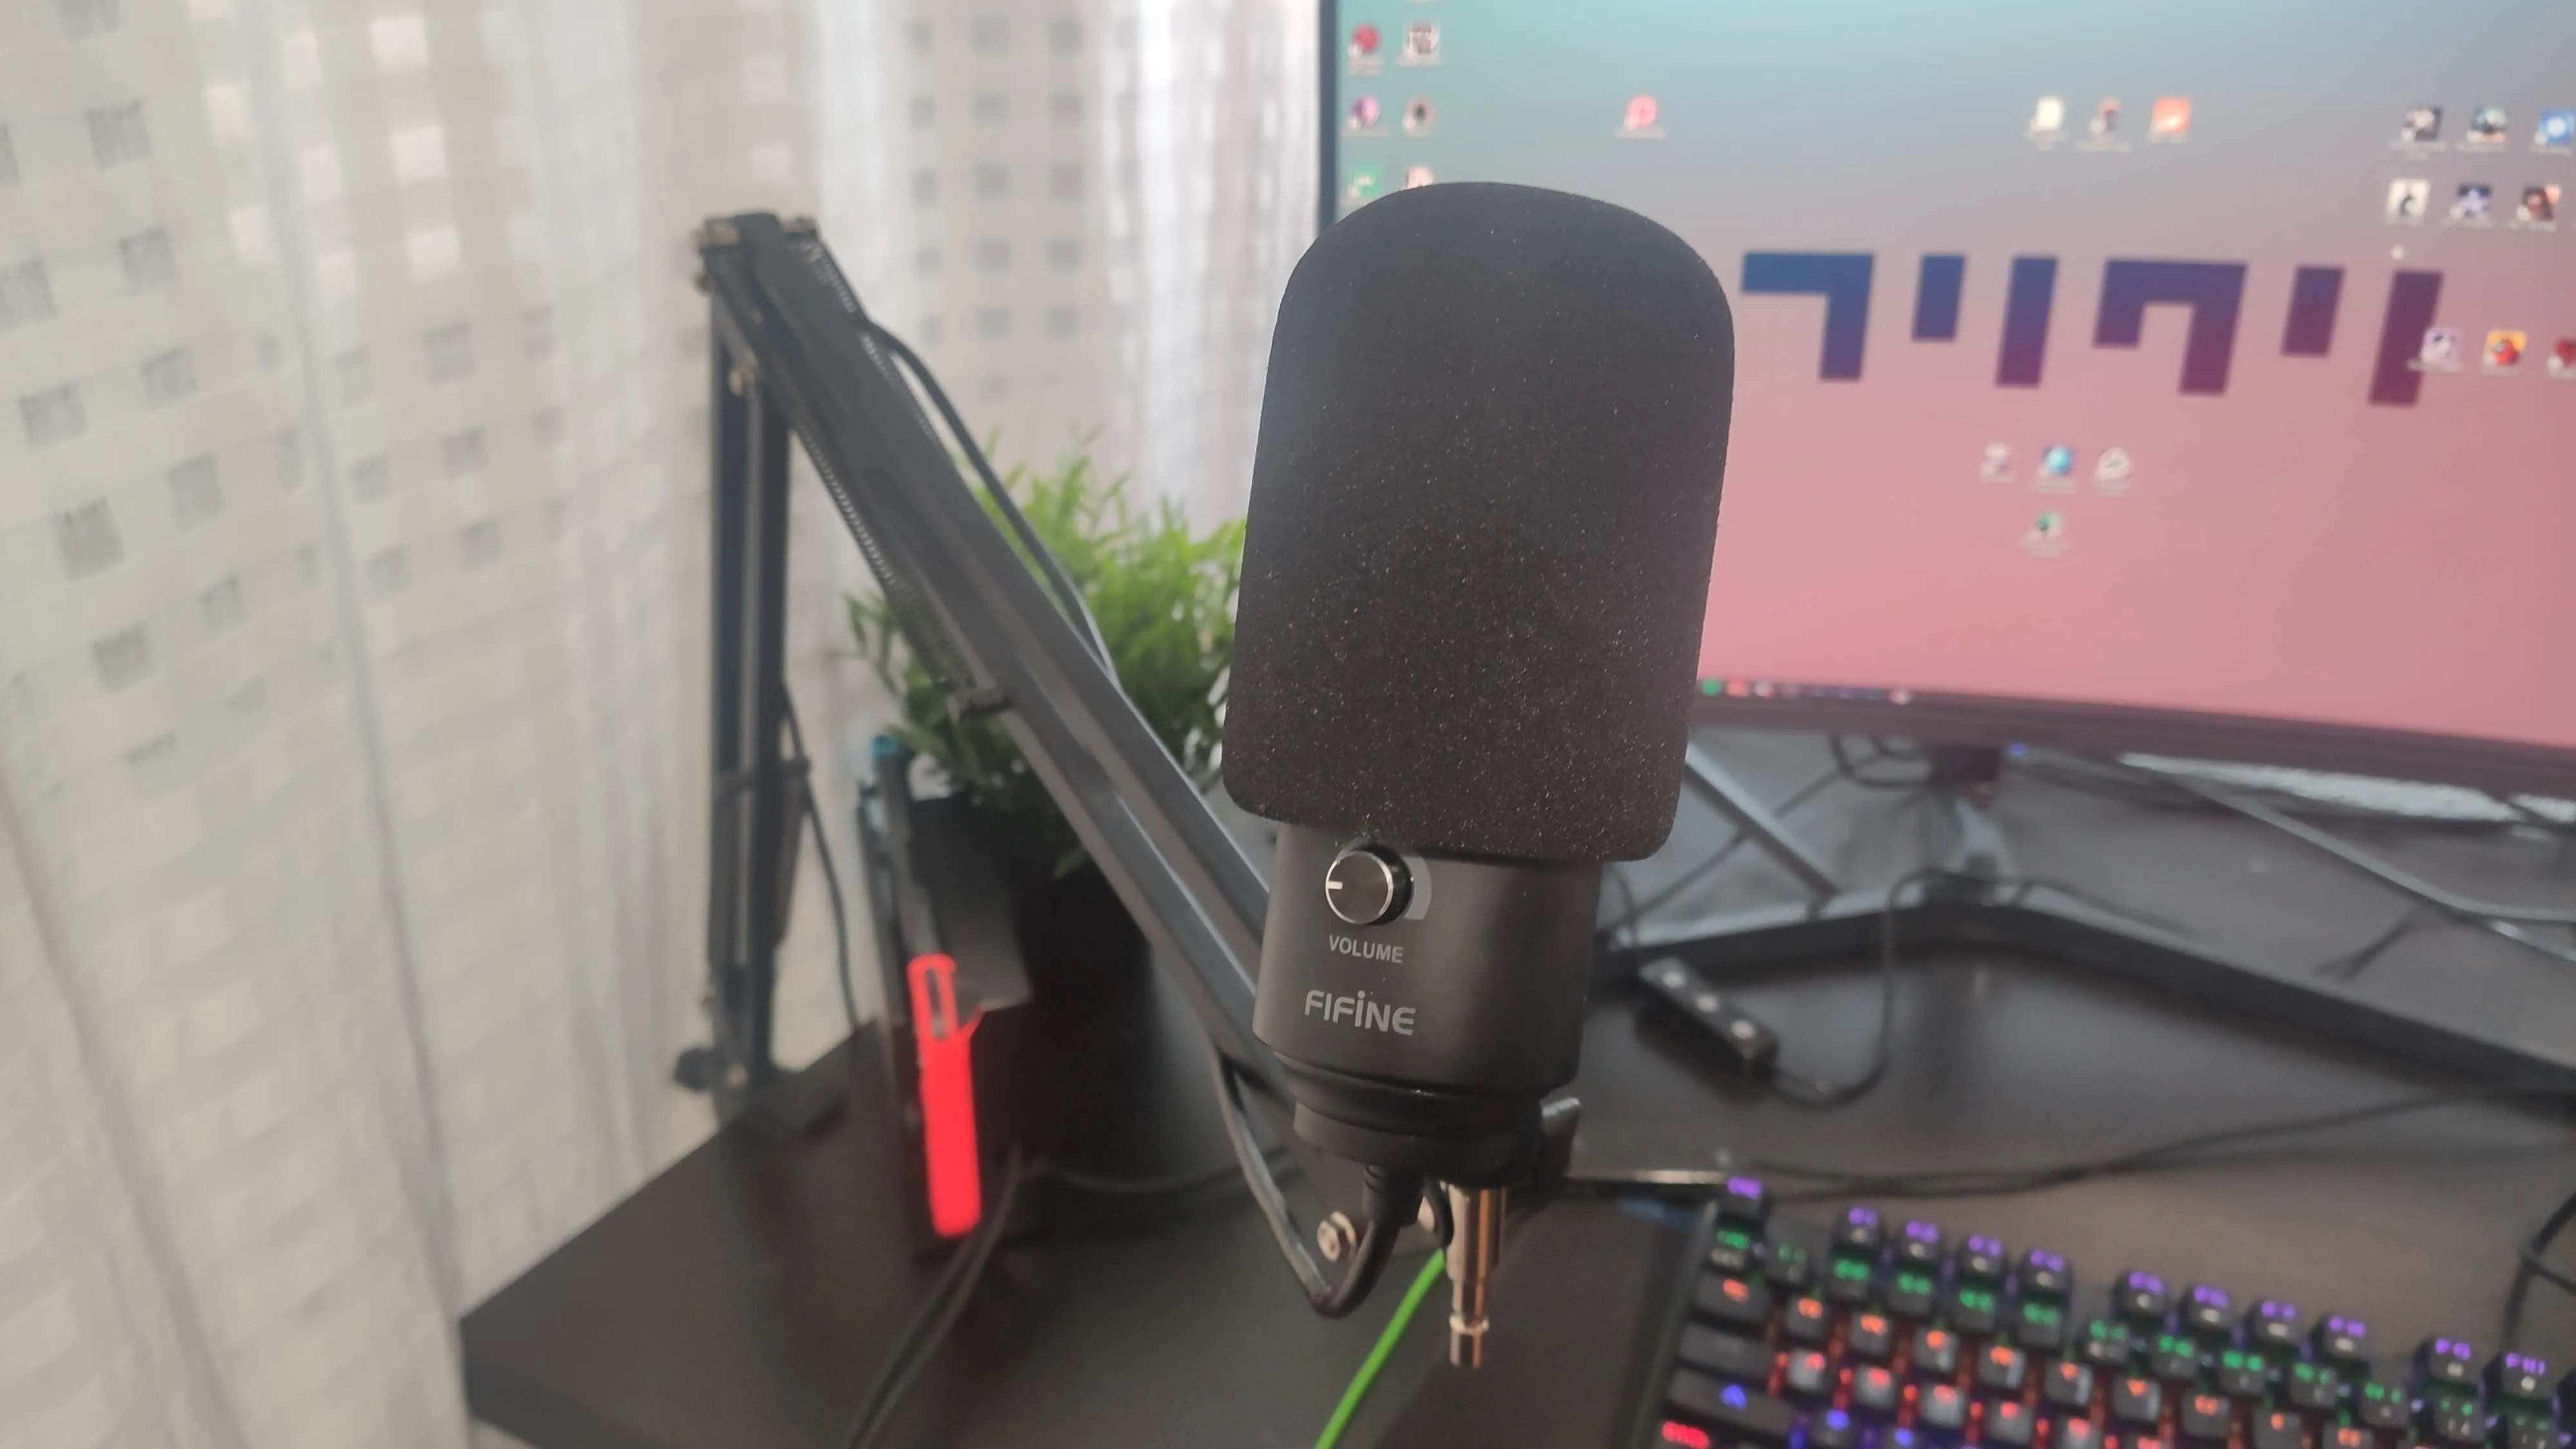
From the beginning I have had the Fifine K669B microphone, which I bought a while ago for ~20€ on Amazon. The main problem is that it picks up a lot of noise, so having it near the keyboard and being heard at the same time was unfeasible. That’s why I bought a Neewer arm to put it on the desk and be able to have the microphone with less gain near my mouth.

In addition, I have recently been using the Voice Meeter software, which allows me to eliminate certain reverberation that exists in my room and enhance the bass so it sounds more like a voice-over.
Video
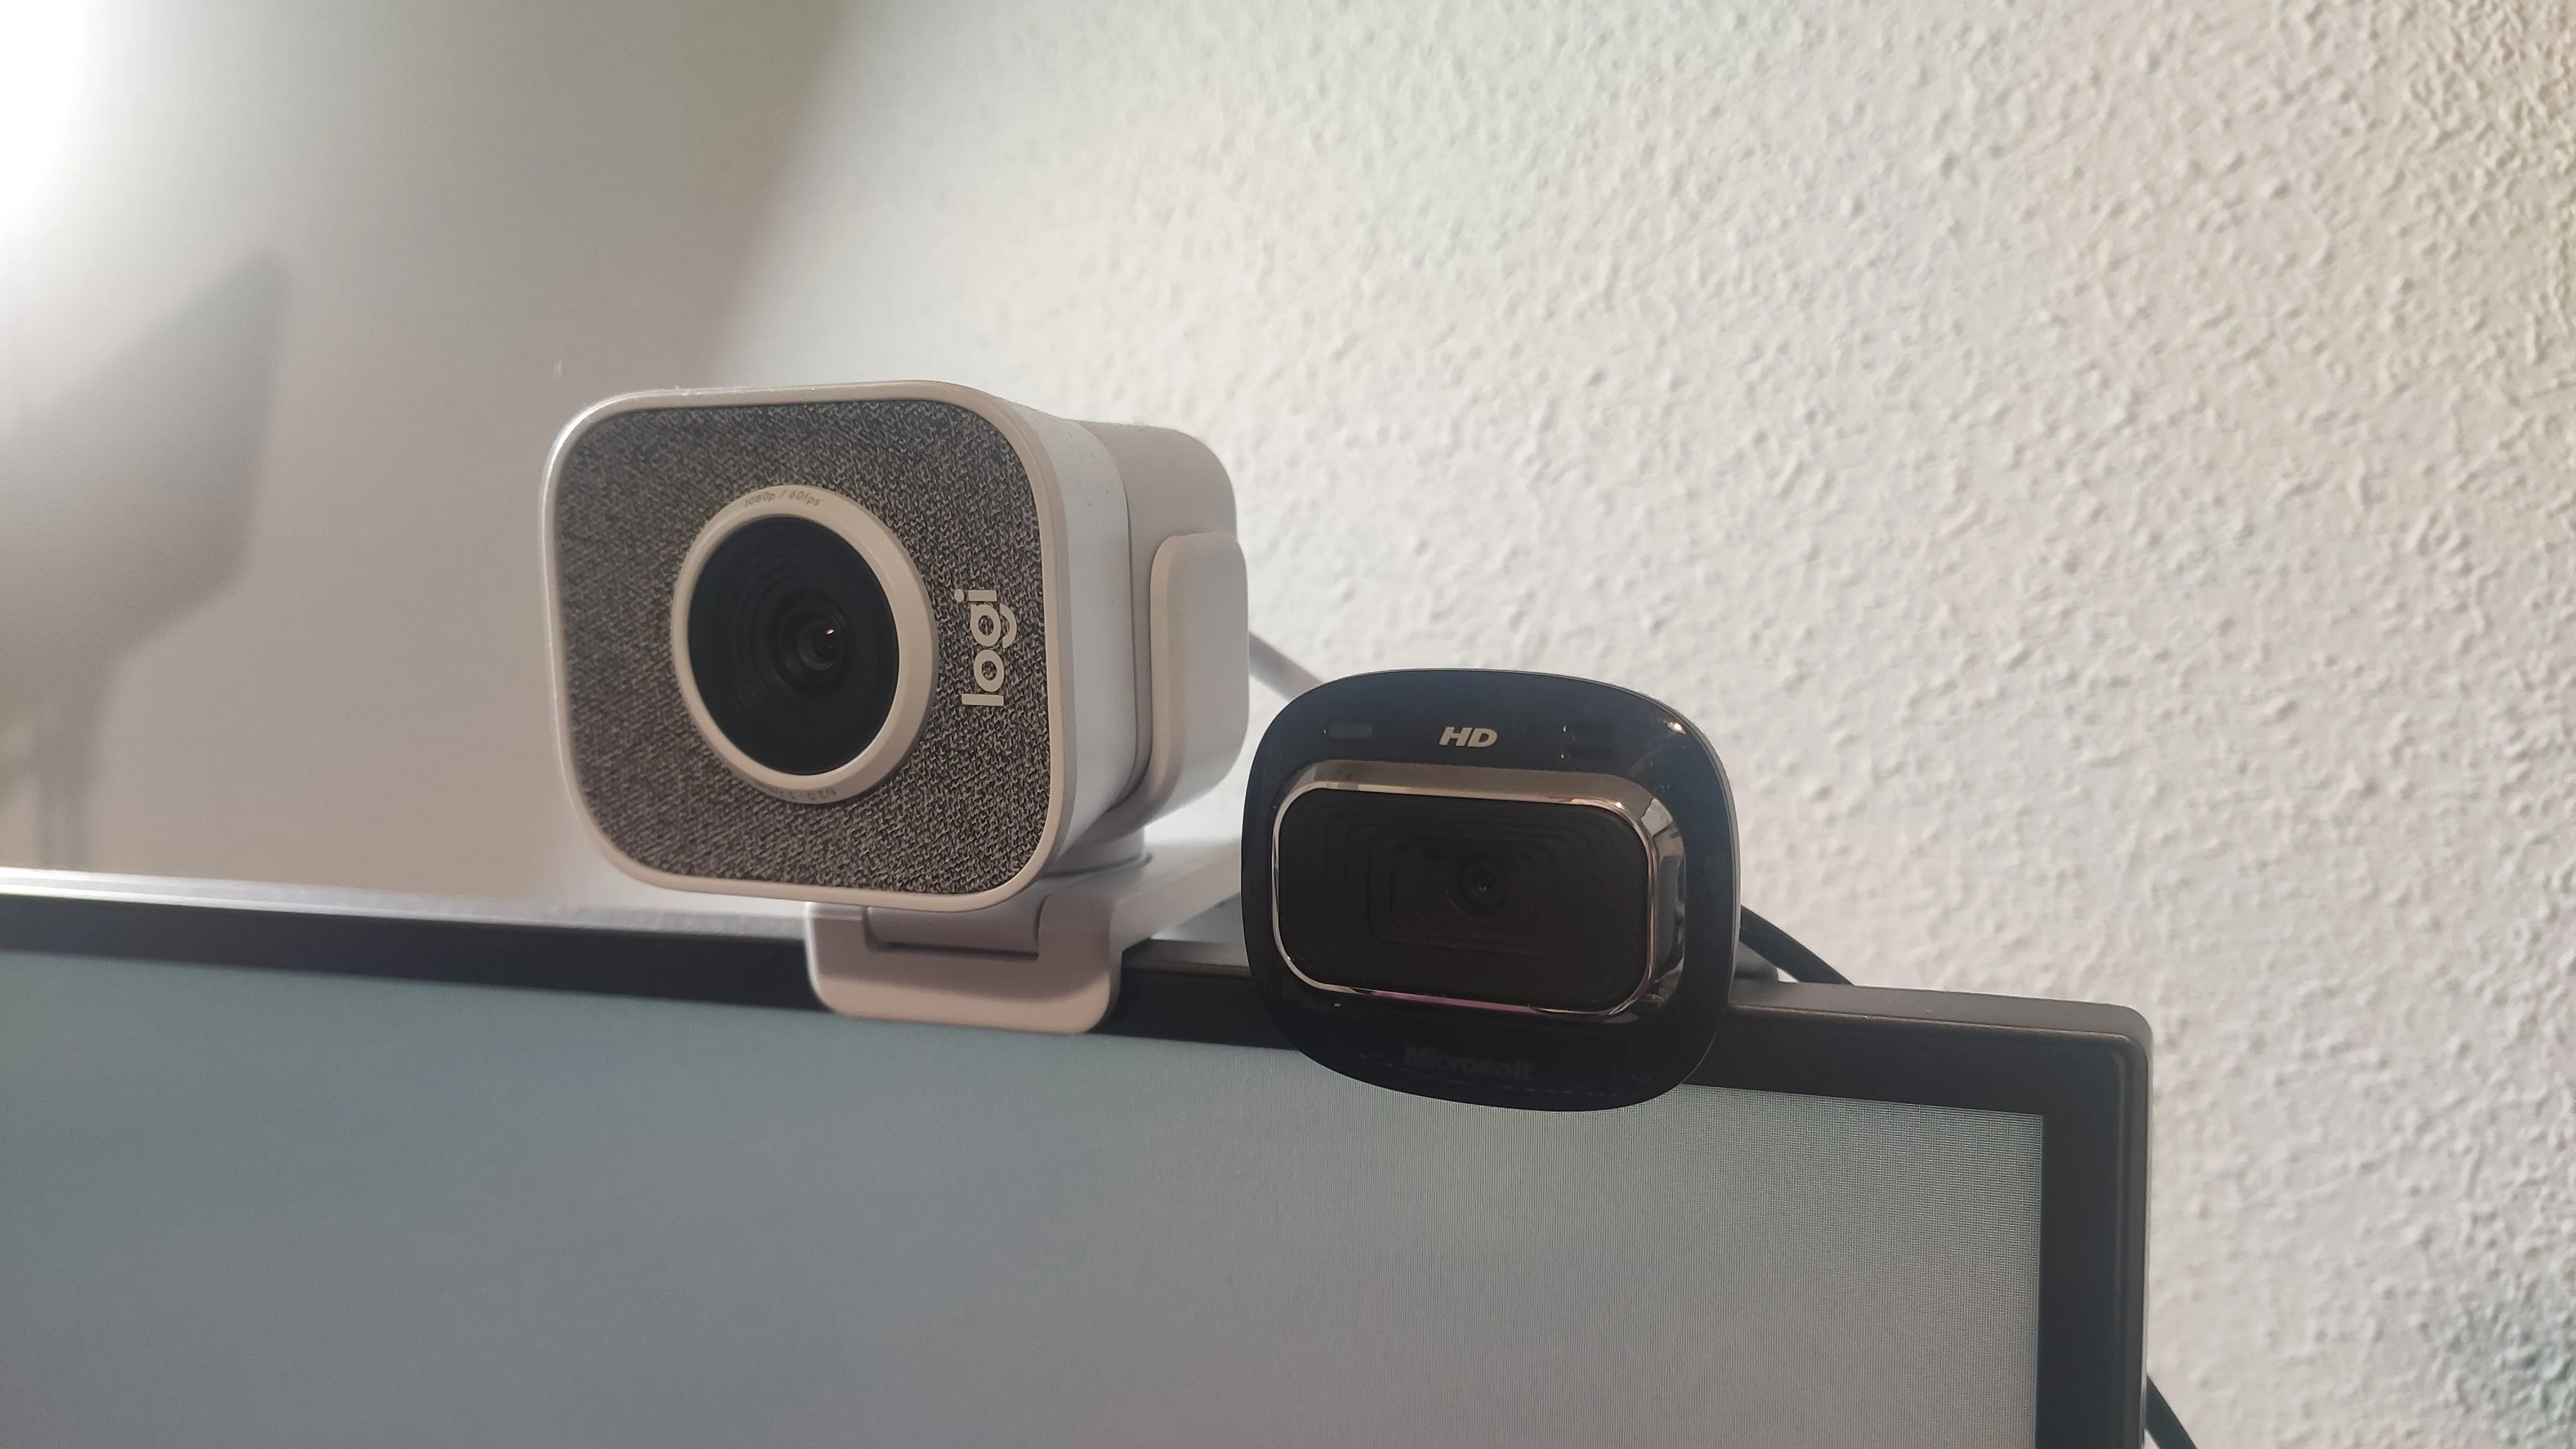
At the beginning I recorded with an old camera that my girlfriend gave me, a Microsoft Livecam HD3000, which is good enough for its age (to put you in context, the program to configure it was last updated for Windows 7 and offers integration with MSN Messenger). During this time I fixed the lighting with a very typical TikToker ring light.
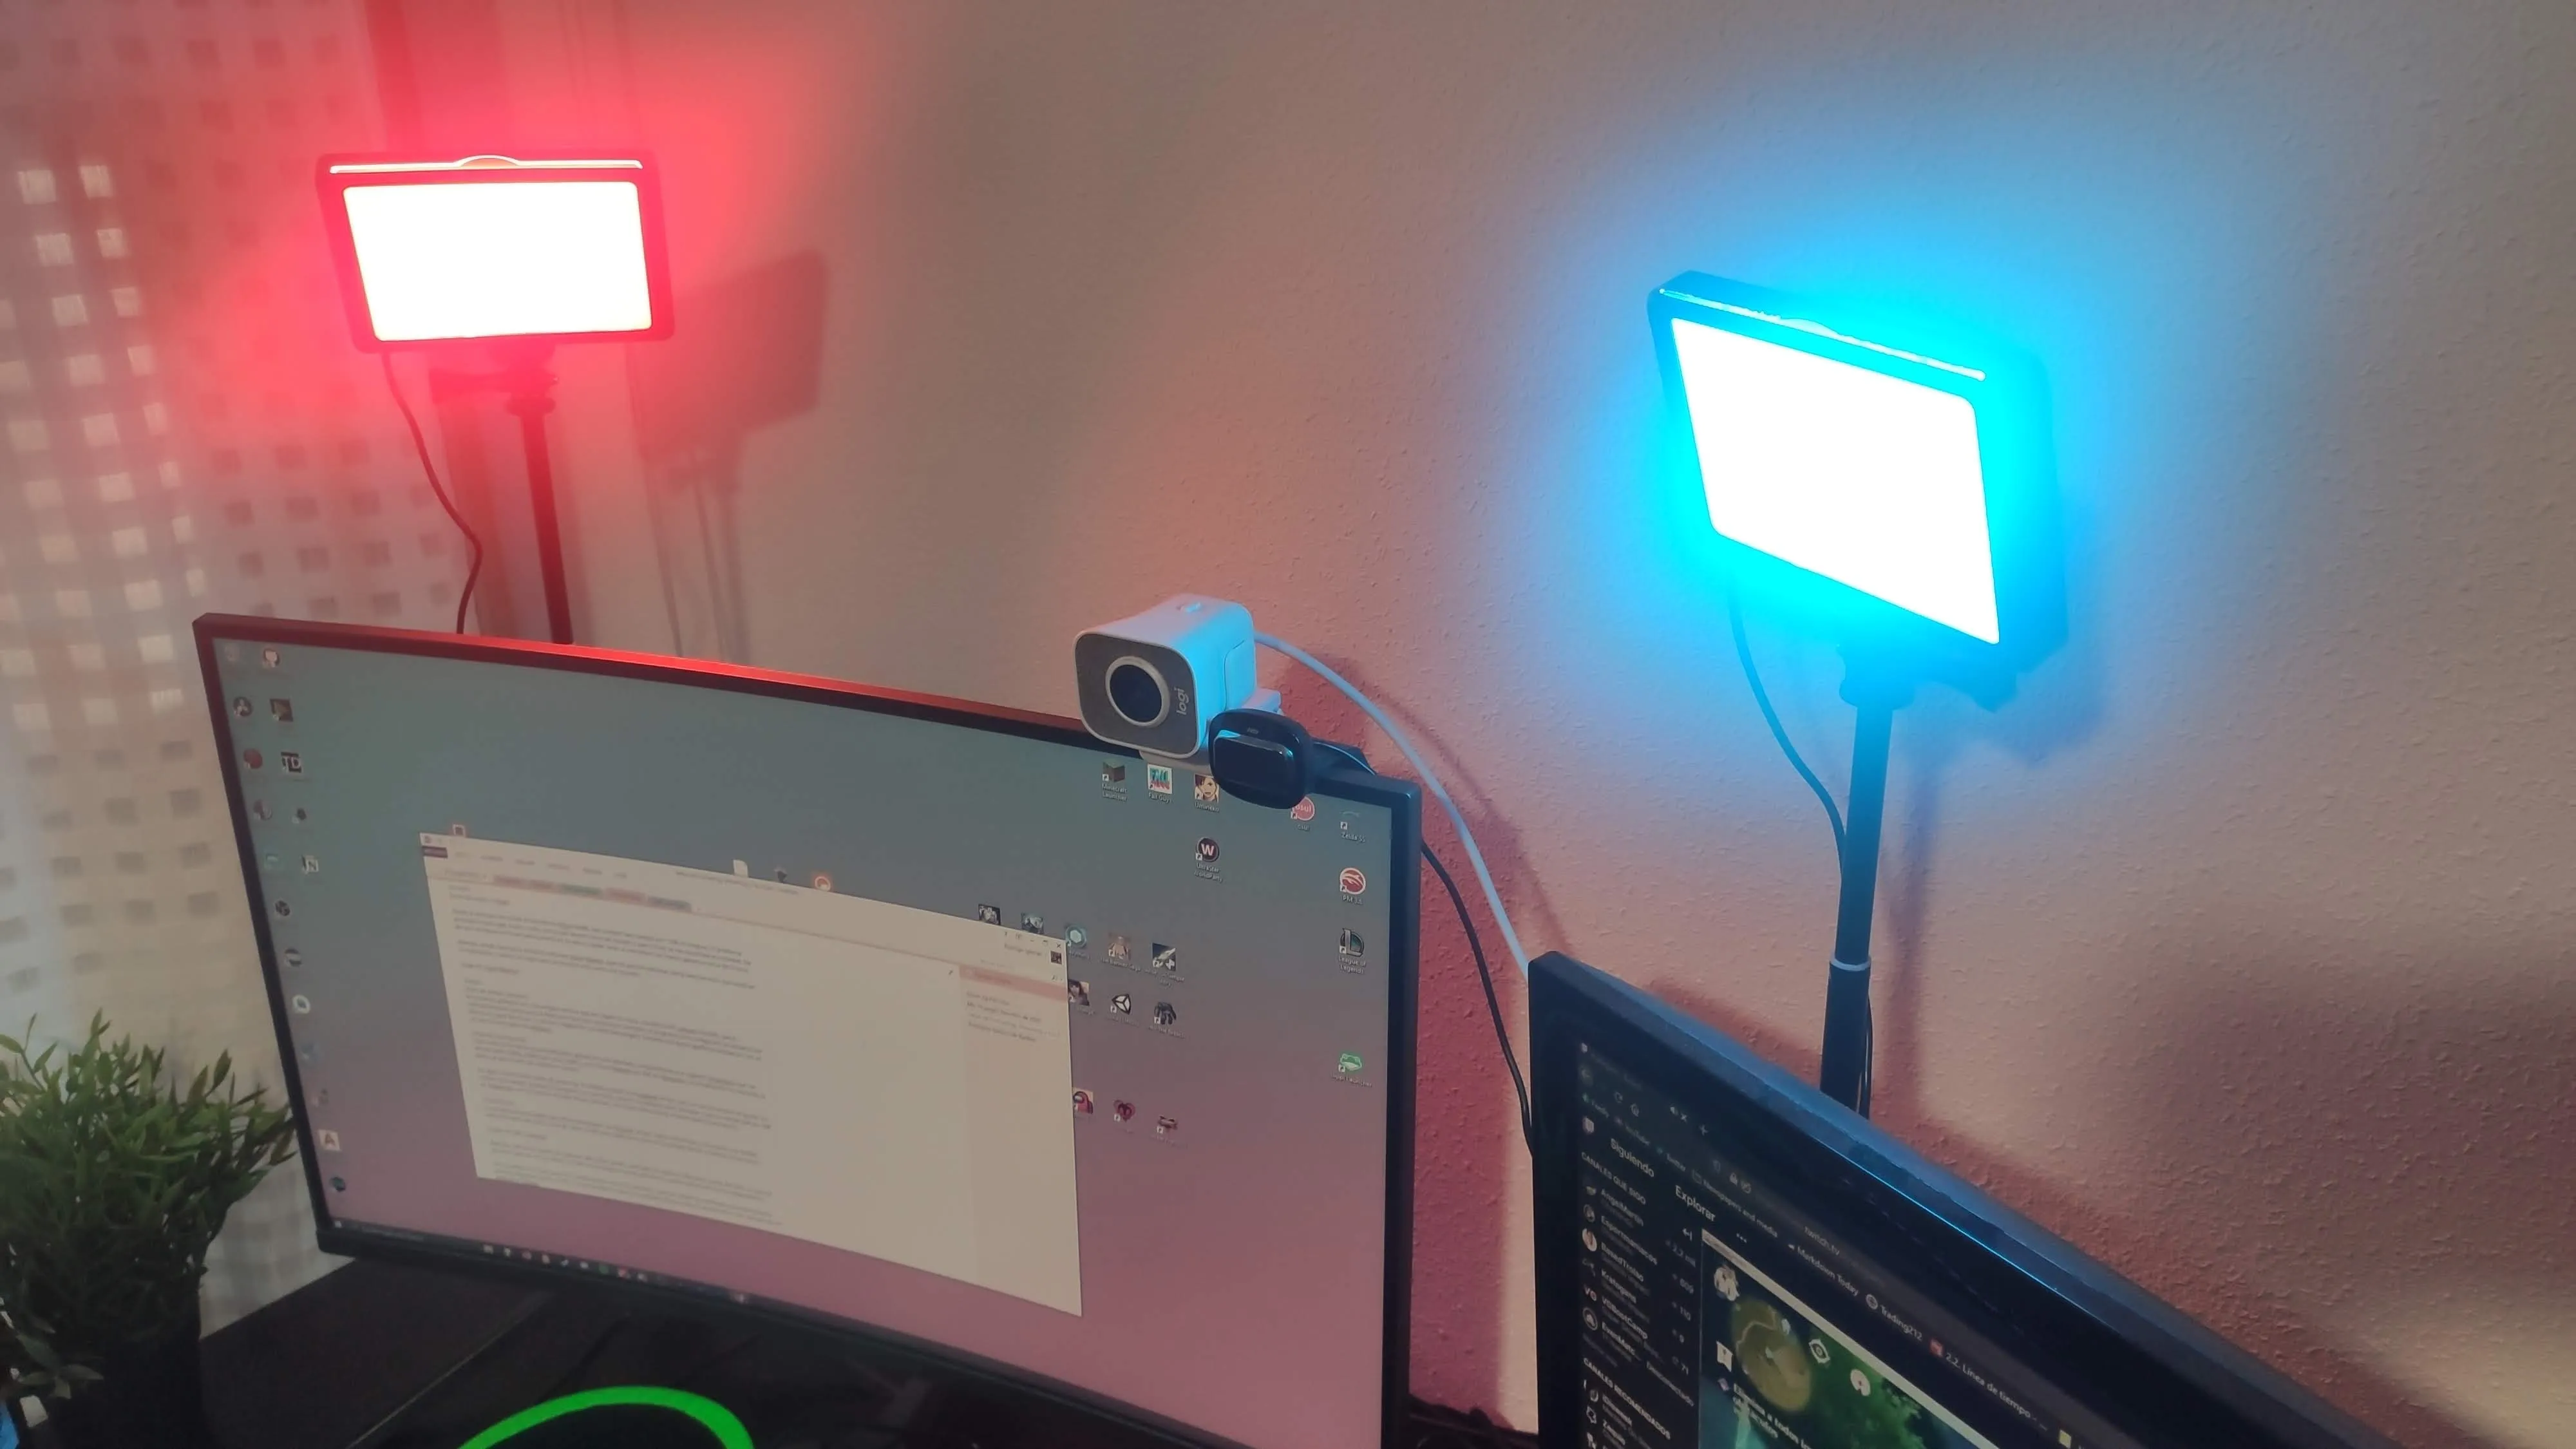
This winter I made a big update in this section, buying a Logitech Streamcam that offers me up to 1080p at 60fps for about 100€, and some Neewer spotlights for 40€ on Aliexpress. The update has been worth it, since the quality jump is noticeable.
In some intermediate attempt to increase quality I bought a Papalook AF925, but I didn’t really like the colors it produced. Although they compare it with a Logitech C920 HD, for me it is quite worse (Although it is true that for 30€ on Aliexpress, with current webcam prices, it’s not such a bad purchase if you have good lighting).
Recording
The main programs I use to record are Discord, since I conduct interviews and it provides me with sufficient quality for both audio and video, and OBS Studio to capture the screen area where the conversation happens.
In addition, OBS has the option to capture different audio outputs and inputs on different tracks of the MKV, which allows me to capture my microphone and the interviewee’s on different tracks and be able to edit it independently.
I did tests with Zoom to see if I could record the episodes with it, but the quality was automatically modified even though HD was set, and the auto recording has terrible quality (see the quality of the first episode of my podcast with Trifasia).
Production
When it comes to editing, the first thing I do is convert the MKV to MP4 with Handbrake so I can edit it directly in Premiere Pro. Since version 2019.3 it does not include MKV support, so it’s a step that had to be added recently by updating the software. I’ve tried other alternatives like Davinci Resolve and, although I’m considering switching to it to avoid paying for the Adobe license, it also doesn’t support MKV and I have to find time to adapt.
After this, I import the recording to a template I have designed in Premiere. In it we can see some videos that repeat, like the intro, the outro, some sound, the episode number… And I have a sequence designed with everything edited so that it’s just adding the recording, making the necessary cuts and it takes me as little time as possible.
Normally I edit the audio directly in Adobe Premiere. Having the information in tracks, I can work by adding effects on them instead of on each section of the podcast, saving me a lot of time. In addition, I don’t add music to podcasts, since when they are prepared, silences can be minimized (just as I would add it to a live talkshow), so further editing is not necessary either.
After this, I export with the YouTube HD 1080p option.
For the YouTube thumbnail I have also created a template, in which I edit the episode number and title, change the interviewee and put a background related to the interview. For this I use Photoshop since I have the Adobe license, but it’s possible that I’ll end up pivoting towards GIMP, especially with the possibility of giving it a Photoshop skin.
Distribution
I share the podcast mainly on two platforms: YouTube and Anchor.
The first one I configure in scheduled premiere mode, with its thumbnail and metadata, and I check that everything works correctly. The second distributes it to other added platforms (Spotify, Ivoox, Apple Podcast…) in an automatic, free way, although without access to monetization. For now I don’t have an audience large enough to consider monetizing it, and if that’s the case, I’ll see which platforms can serve me for that.
Converting the produced video to audio is as simple as using ffmpeg and dragging the file to this script:
@echo off

ffmpeg.exe -i "%~1" "%~1".mp3
To promote it I make clips of the video and upload them to Twitter. I also have an ffmpeg script for that:
@echo off
set /p TiempoInicio=Start time (hh:mm:ss)
set /p TiempoFinal=End time (hh:mm:ss)

ffmpeg.exe -i "%~1" -ss %TiempoInicio% -to %TiempoFinal% -async 1 -strict -2 corte.mp4
In fact, recently I was told on twitter that you can configure OBS Studio to automatically convert MKV to MP4, so it seems like something where I’m going to save some time.
FINAL
I hope all this information has been useful for preparing your podcast, choosing components or seeing what other people in the community do. In addition to using it for podcasting, I also use it to stream on Twitch and record other types of videos for YouTube, since the camera quality is great.
If you want to give me something back, I would appreciate it if you stopped by the Podcast’s YouTube channel and left me a comment, subscription or “like” on one of the podcasts, since all help is welcome to try to spread it.
Thank you very much and see you!